Typical Top View Project
You will follow the same basic workflow when creating projects with Top View. The process is flexible enough to accommodate any combination of roof shape and metal roofing materials while letting you ignore features that don’t apply to your project.
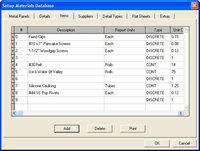
- Choose and Modify Materials Template
- select custom or pre-set templates
- modify template if necessary
- apply modifications to template permanently or just to current project
- Draw Roof Outline
- draw with the mouse or keyboard
- draw automatically with a digitizer
- automatically create outline from CAD file
- import e-plan and trace
- Specify Slope and Height
- Top View automatically calculates the roof shape
- view 3D layout from any angle
- Adjust Layout
- wizards guide you through special shapes like dormers, gables, etc…
- add cutouts for skylights, chimneys, etc…
- adjust slope and position of any element in the layout
- Share Reports to Finish Project
- get cut list showing quantities of panels and accessories
- export cut list to Excel
- create and share 3D-view from any angle
- create and share plots
- create and share reports
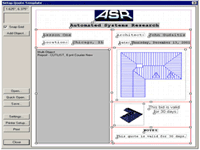
- customize reports with quote template
Learn More About Top View
Please feel free to contact us with your questions.
Watch the Top View demo and see how you would create a typical project.
Give it a try for yourself, download the free Top View trial.
Learn about pricing and our excellent support.
When you are ready to buy, contact us to get your copy of Top View.


